
Invite team members and assign roles
Add people to the workspace, choose what each can change, and buy extra seats when you outgrow the plan.
Last updated
Everyone you invite joins the same workspace and sees the same jobs. What differs is what they can change, which is set by their role.
Your plan includes a number of seats. When you need more you can buy additional ones without changing plan — the extra seats are added to the same subscription.
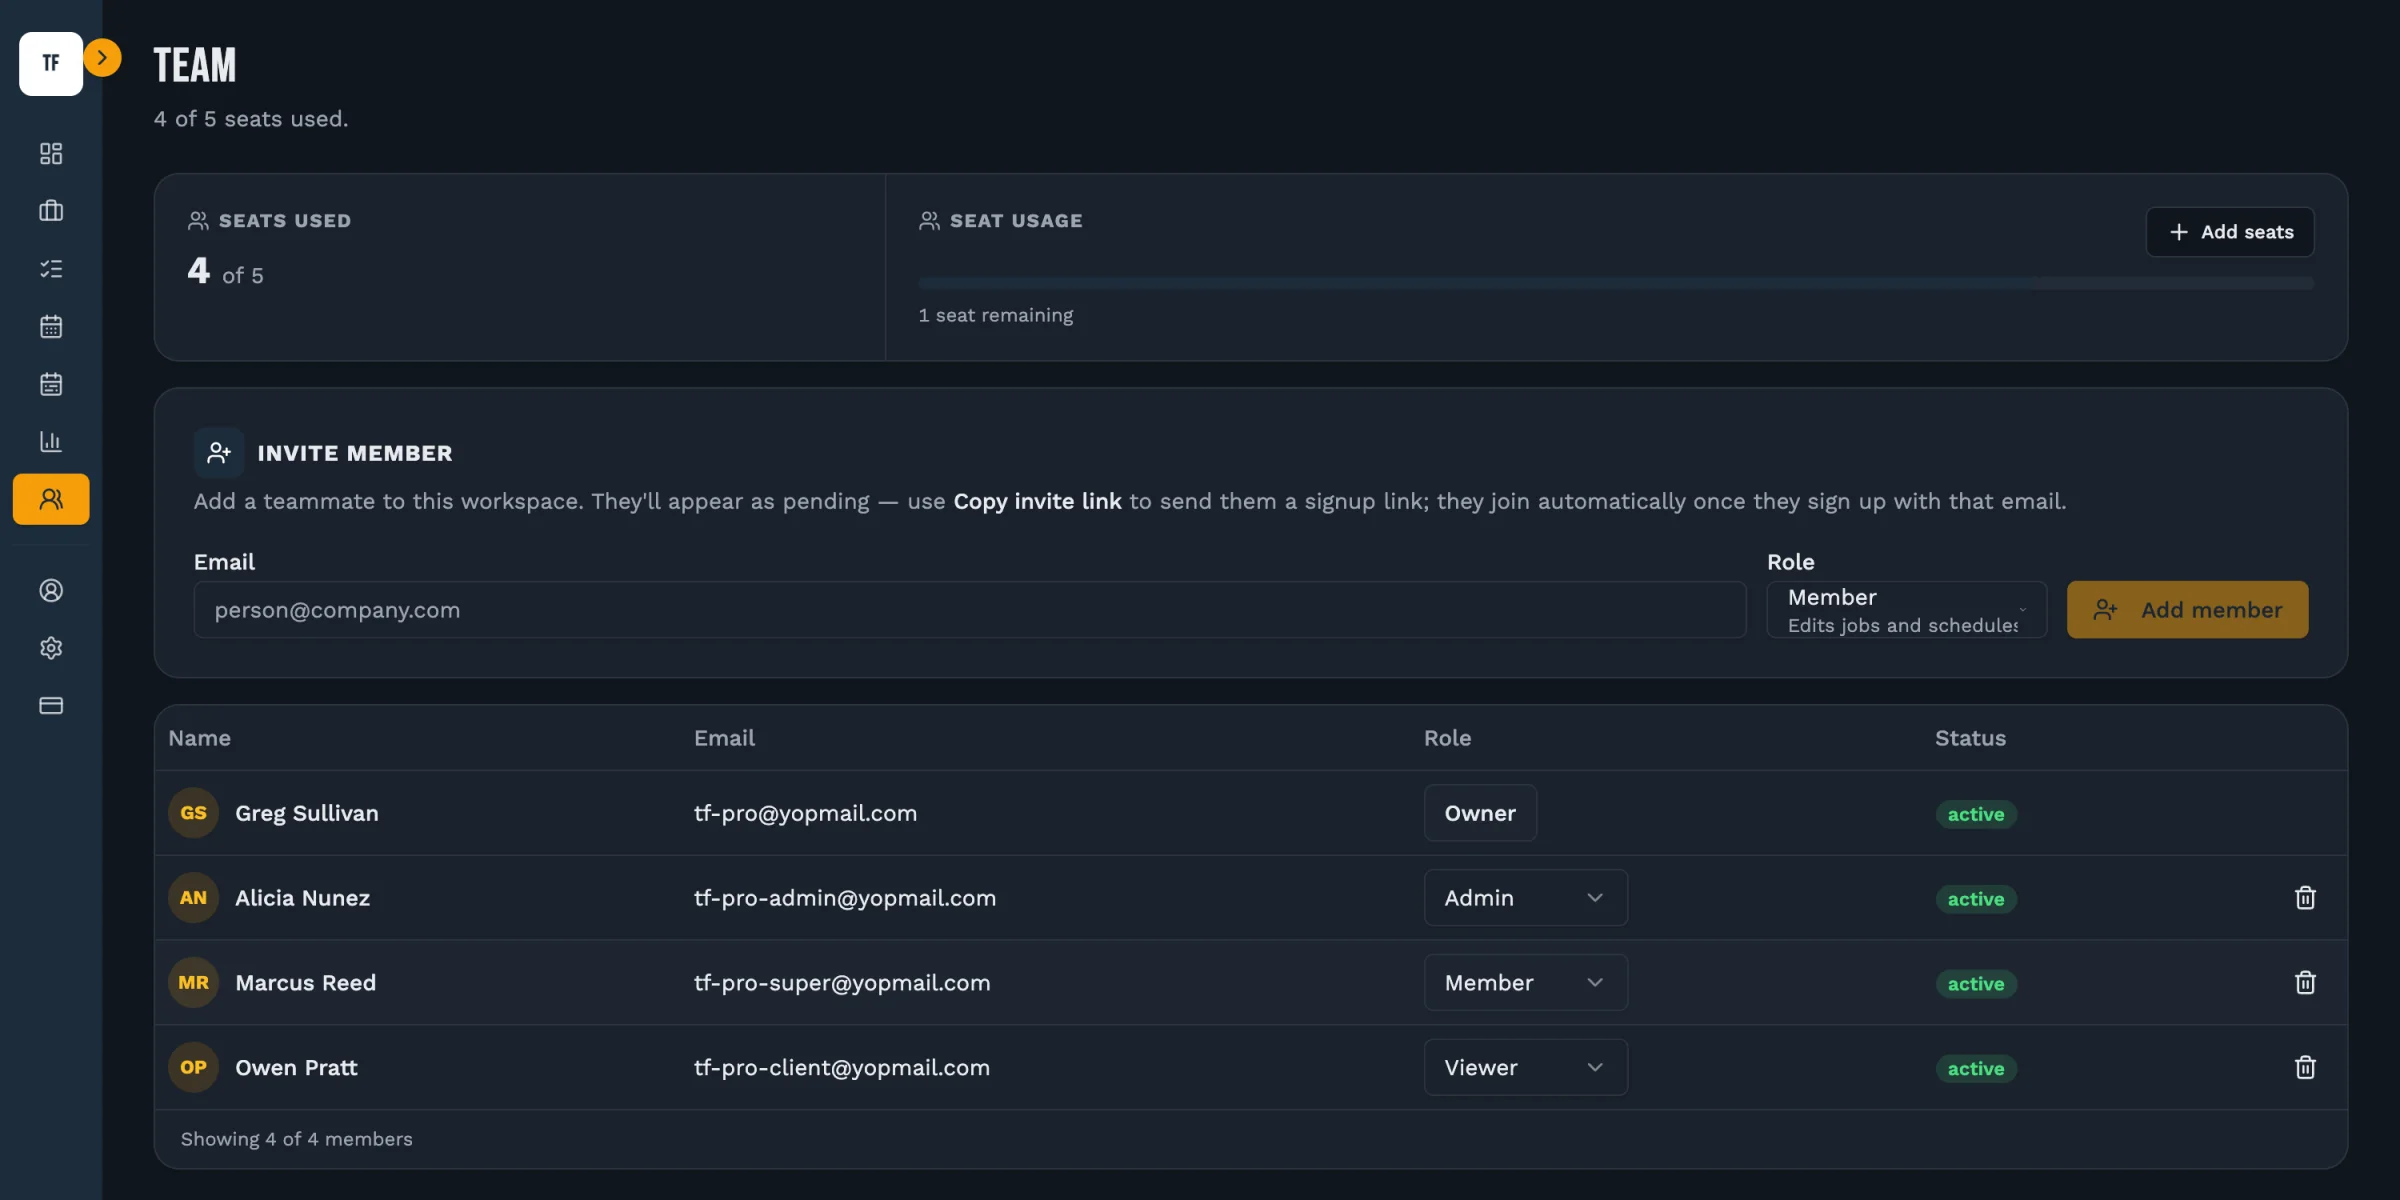
Open Team
Choose Team in the sidebar. It shows who's in the workspace, their role, and how many of your seats are used.
Invite someone
Enter their email and choose a role. They appear as pending until they sign up with that address, at which point they join automatically.
Send them the link
Use Copy invite link and send it however you normally reach them. They join by signing up with the email you invited.
Choose the right role
Owners and admins can change jobs, settings and billing. Members edit jobs and schedules but can't add or remove them. Viewers read only.
Add seats when you run out
If every seat is used, choose Add seats on the Team page. Extra seats are billed on the same cycle as your plan and take effect immediately.
Worth knowing
- An invitation is tied to the email address you typed. Someone signing up with a different address won't be matched to it.
- Changing plan or seat count is prorated by Stripe, so you're charged the difference for the remainder of the current period rather than a full cycle.
Still stuck?
Tell us the job and the dates involved and we'll usually answer without a call.
Or email Support@tradeflowplanner.com